 how-to
Get a Free Roof Damage Estimate: Step-by-Step
Table of Contents
- Why a Free Roof Damage Estimate Matters
- How to Get a Free Roof Inspection
- Step-by-Step: How to Get a Roof Damage Estimate
- What a Roof Repair Estimate Should Include
- Questions to Ask a Roofing Contractor Before You Sign
- The Roof Insurance Claim Inspection Process
- How to Verify a Free Estimate and Avoid Scams
- Conclusion
- Frequently Asked Questions
Last Updated: October 21, 2026
Why a Free Roof Damage Estimate Matters
A free roof damage estimate is a no-cost professional inspection and written assessment of your roof's condition that turns guesswork into a documented repair or replacement plan before small problems become structural.
Water works through flashing, nail pops, and hairline shingle cracks for months before you notice anything inside. By then, the repair usually involves decking, insulation, and drywall, not just shingles.
A proper roof assessment also gives you something concrete to hand an insurer. Without photo documentation and a written damage evaluation, a claim becomes your word against an adjuster's.
How to Get a Free Roof Inspection
Requesting a free roof inspection takes one phone call or online form, and a qualified inspector should be on your property within days.
Here is what the process looks like in practice:
- Call or submit a request with your address and a short description of what you noticed
- Schedule a window that works around your day, typically a few days out
- Walk the property with the inspector if you can, so you see what they see
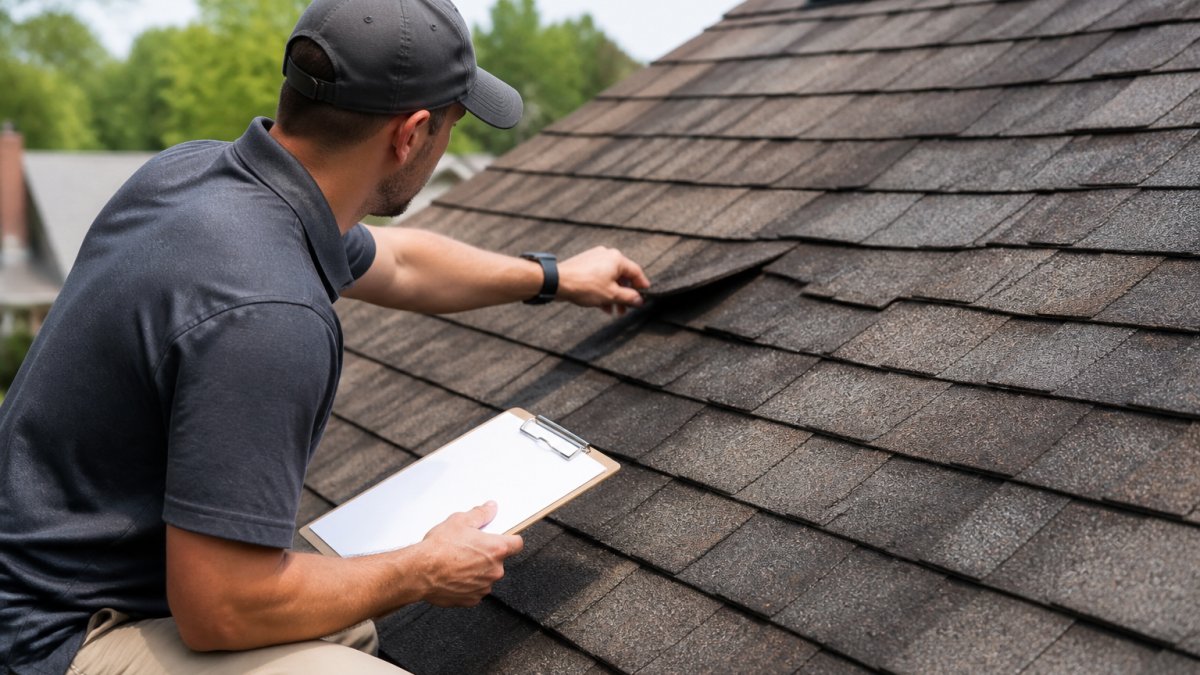
The inspection covers shingles, flashing, valleys, vents, gutters, and the attic side of the roof deck, checking for soft spots, granule loss, lifted or missing shingles, and active moisture.
Ask upfront whether the visit is genuinely free and whether you get the report in writing. A company that hesitates on either question is telling you something.
Step-by-Step: How to Get a Roof Damage Estimate
Getting a roof damage estimate follows a clear sequence: document what you can see safely, request the inspection, prepare for the visit, then review the written report line by line. These steps give you a paper trail if you file an insurance claim.
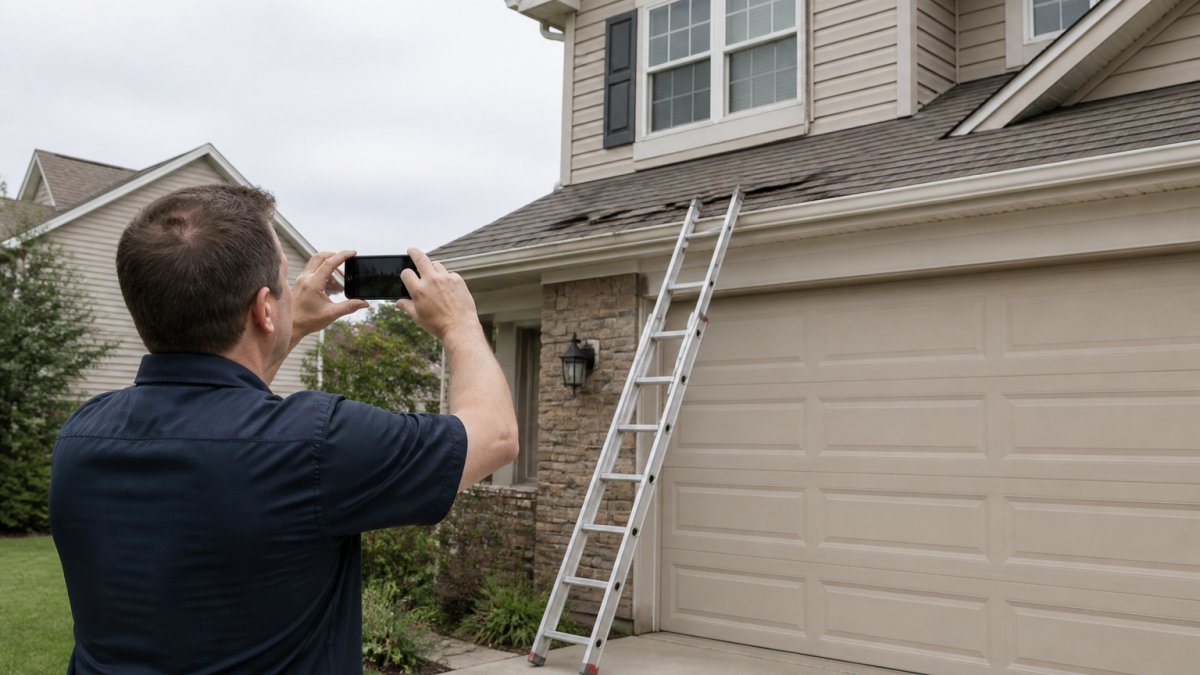
Step 1: Document the Damage Safely Before Anyone Arrives
Photograph everything from the ground with your phone's zoom. Never climb onto the roof, especially after a storm when shingles are loose and wet. A fall from a one-story roof is still a serious injury, and most homeowner policies will not treat a do-it-yourself roof climb kindly.
Capture these shots in this order:
- Wide shots of each roof slope from the front, back, and both sides
- Close-ups of missing, lifted, curled, or creased shingles
- Granules collecting at downspout outlets and in gutters
Label the photos by date and location. This documentation becomes evidence for an insurance claim and gives the inspector a baseline to confirm against.
Step 2: Request the Inspection With the Right Questions
Call a local roofing contractor and describe what you observed, including storm dates, active leaks, or interior water stains. Ask four things before booking:
- Is the inspection genuinely free, with no obligation to buy?
- Who performs it, a trained inspector or a salesperson?
- Will I receive a written report with photos, and when?
- What is your service area and typical scheduling window?
A qualified inspector should arrive with a ladder, camera, moisture meter, and checklist. Expect 45 minutes to an hour for a standard single-family home; two-story or steep-pitch roofs may take longer.
Step 3: Prepare for the Appointment
Small prep makes the visit more useful:
- Clear access to the attic hatch and the areas under suspected leaks
- Have your insurance policy number and claim number handy if you have already filed
- Write down the storm date, any interior symptoms, and the age of the roof if you know it
If you can safely walk the perimeter with the inspector, do it. Seeing what they see makes the written report easier to interpret later.
Step 4: Review the Detailed Report Line by Line
Read the inspection report before discussing price. It should identify damage by roof section, include photos, note measurements (squares, pitch, layers), and separate repair items from replacement recommendations. Ask the inspector to walk you through any unclear photos.
Compare the report against your own photos. If the scope looks inflated, ask why. Honest contractors explain their reasoning without pressure.
Step 5: Know What Happens After the Inspection
A common timeline looks like this:
- Same day: verbal summary of findings and any urgent safety concerns
- 1 to 3 business days: written report and estimate delivered by email or portal
- Within a week: follow-up call to answer questions and, if you choose, schedule work
Ask upfront how long the estimate is valid. Most contractors hold pricing for 30 days, but material prices move, so get the expiration in writing.
What a Roof Repair Estimate Should Include
A roof repair estimate should include the scope of work, materials specified by brand and grade, labor, timelines, warranty terms, and a clear breakdown of what is and is not covered. Vague one-line quotes are a red flag; a complete estimate lets you compare bids apples to apples.
The Core Line Items
A credible roof damage estimate typically contains these sections:
- Damage summary, what was found, by roof section, with photo references
- Measurements, roof area in squares (one square equals 100 square feet), pitch, number of layers, and linear feet of flashing, valleys, and ridge
- Tear-off and disposal, removal of existing shingles, underlayment, and dumpster or haul-away fees
- Decking repair allowance, a stated per-sheet price for replacing damaged plywood or OSB found during tear-off
A roof replacement estimate should also state whether the price includes disposal, ice and water shield, and ridge ventilation. Leaving those out is how a low bid becomes an expensive surprise.
How to Read Quantities and Pricing
Estimates express roof size in squares, not square feet. A 2,000-square-foot roof footprint is not 20 squares, pitch, overhangs, and waste factor push the actual material quantity higher. Ask to see the measurement report, which most contractors generate from aerial software.
Watch for these patterns:
- A price per square that is far below local norms can signal omitted underlayment, thin shingles, or no decking allowance
- A single lump-sum line with no materials breakdown makes comparison impossible
- A large deposit request (more than a modest mobilization amount) is a warning sign
- A quote with no expiration date invites a later price increase
Contractor Estimate vs. Insurer Scope
These are two different documents and rarely match line for line. Your contractor's estimate reflects the full cost to restore the roof; the insurer's scope reflects what the policy covers at the insurer's own rates.
When comparing the two, line them up by category: tear-off, decking, underlayment, shingles, flashing, labor, and permits. If the insurer's scope omits ice and water shield or code-required items, that is a legitimate supplement conversation, not an argument.
Use this checklist when reviewing any roof damage estimate:
- Damage identified by roof section, with photos
- Measurements shown in squares, with pitch and layers noted
- Materials named (shingle brand, underlayment, flashing)
- Separate line items for tear-off, decking repair, and installation
Questions to Ask a Roofing Contractor Before You Sign
Ask about licensing, insurance, warranty terms, timeline, and payment structure before signing anything. The answers separate established local firms from storm chasers.
Run through these questions with every contractor:
- Are you licensed and insured, and can I see the certificate?
- Who performs the work: your crew or subcontractors?
- What does your workmanship warranty cover, and for how long?
- How do you handle unexpected decking damage found mid-project?
- Will you provide a written contract with a fixed scope?
- How long have you operated in this area?
- Do you assist with the insurance claim process?
That last question matters more than most homeowners expect. A contractor experienced with claims can know how to document damage in the format adjusters need.
At Fraley's Home Improvement, we are GAF Factory Certified and BBB A+ rated, and we put every answer in writing before work begins.
The Roof Insurance Claim Inspection Process
A roof insurance claim inspection is a separate visit from your contractor's estimate, performed by an adjuster who determines what the policy will pay. Your contractor's report and the adjuster's findings should align, and when they don't, documentation is your use.
The sequence usually runs like this:
| Stage | Who Handles It | What Happens |
|---|---|---|
| 1. File the claim | You | Report the loss, provide storm date |
| 2. Contractor inspection | Roofing company | Written damage evaluation with photos |
| 3. Adjuster visit | Insurance adjuster | Independent assessment of covered damage |
| 4. Scope comparison | You and contractor | Reconcile differences in findings |
| 5. Approval and repair | Insurer and contractor | Work begins after scope agreement |
Two things trip people up. Adjusters assess covered damage, not everything wrong with your roof, so aging shingles may not qualify.
How to Verify a Free Estimate and Avoid Scams
Verify a free estimate by confirming the company is local, licensed, insured, and willing to put everything in writing before you sign.
Red flags worth walking away from:
- Pressure to sign the same day
- A demand for full payment or a large deposit upfront
- No physical local address or verifiable license
- Offers to "handle" your deductible, which is insurance fraud
Check the company's standing with your state licensing board and the Better Business Bureau. Ask for local references and actually call them.
The Federal Trade Commission's consumer guidance on home improvement scams is worth reading before storm season, particularly on advance-fee demands and high-pressure tactics.
Conclusion
Getting a free roof damage estimate is straightforward once you know the sequence: document safely, request the inspection, and read the report before you discuss price.
If you are in western Kentucky or the tri-state area, Fraley's Home Improvement offers free, no-pressure roof assessments backed by 55+ years of family-operated experience, GAF certification, and a 4.9-star Google rating across 91+ reviews.
Get a free estimate from Fraley's Home Improvement and know exactly what your roof needs before the next storm finds it first.
Frequently Asked Questions
How do I get a free roof damage estimate?
Call a local roofing contractor and ask for a free inspection and estimate. Most companies, including Fraley's Home Improvement, offer no-pressure assessments at no cost. The inspector will examine your roof, document any damage with photos, and provide a written estimate for repair or replacement. You should never pay upfront for an estimate, and a reputable contractor will give you a detailed report before asking you to commit to any work.
What should I expect during a roof damage inspection?
A qualified inspector will check shingles for wind damage, look for hail impact marks, examine flashing and seals, and assess the overall roof condition. They may walk the roof, use a ladder, or inspect from the ground with binoculars. Expect the inspection to take 30 to 60 minutes. You should receive photo documentation and a written report explaining what was found and whether repair or replacement is recommended.
What questions should I ask a roofing contractor before accepting an estimate?
Ask about licensing, insurance, and whether the company is GAF-certified. Confirm what the estimate covers, including materials, labor, and cleanup. Ask how long the work will take, whether permits are included, and what the payment schedule looks like. A trustworthy contractor will answer these openly and put everything in writing. Avoid anyone who pressures you to sign on the spot or asks for a large deposit upfront.
Can I get a roof repaired with no money upfront?
Some contractors offer financing or payment plans that let you start work with little or no money down, but you should be cautious of anyone requiring a large deposit before materials arrive. A typical arrangement involves a deposit for materials and a final payment after completion. If you are filing an insurance claim, your insurer may pay the contractor directly, which reduces your out-of-pocket cost at the start.