 how-to
Signs of Water Damage Behind Walls: What to Check
Table of Contents
- Signs of Water Damage Behind Walls You Shouldn't Ignore
- How to Detect a Water Leak Behind a Wall Safely
- How to Find the Source of a Water Leak Inside a Wall
- Using a Moisture Meter for Detecting Water in Walls
- Leak or Condensation? How to Tell the Difference
- How Long Does It Take for a Wall to Dry After Water Damage?
- Your Step-by-Step Response Plan After Finding Signs
- Frequently Asked Questions
Last Updated: October 19, 2026
Signs of Water Damage Behind Walls You Shouldn't Ignore
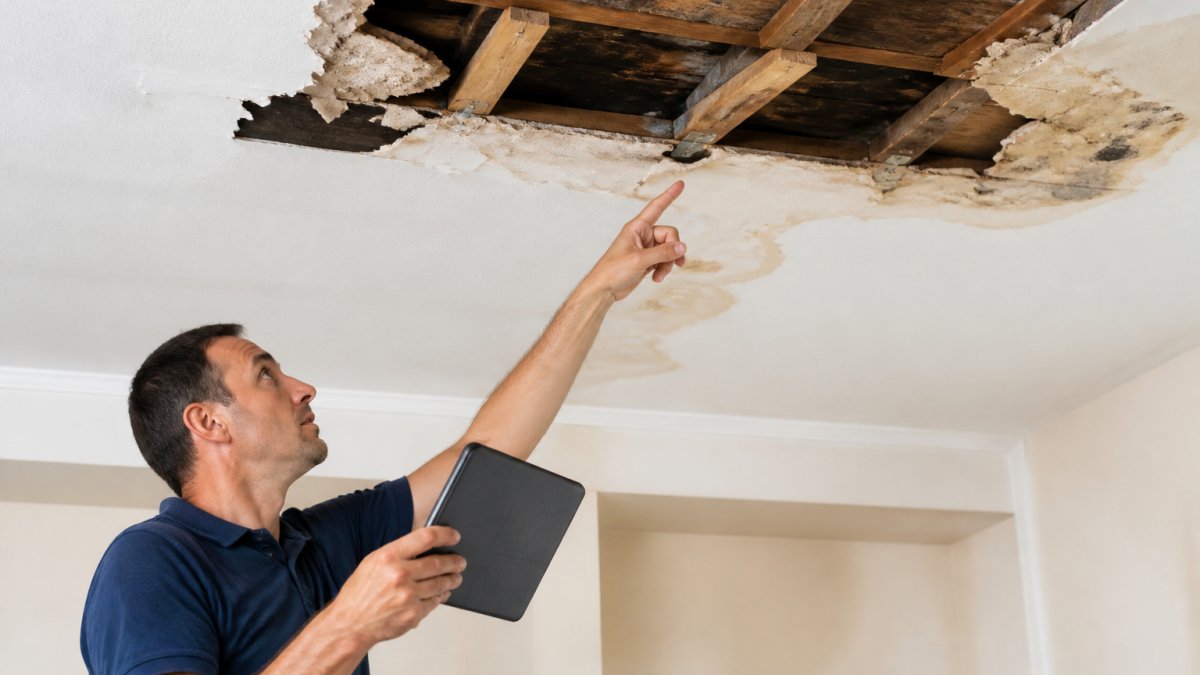
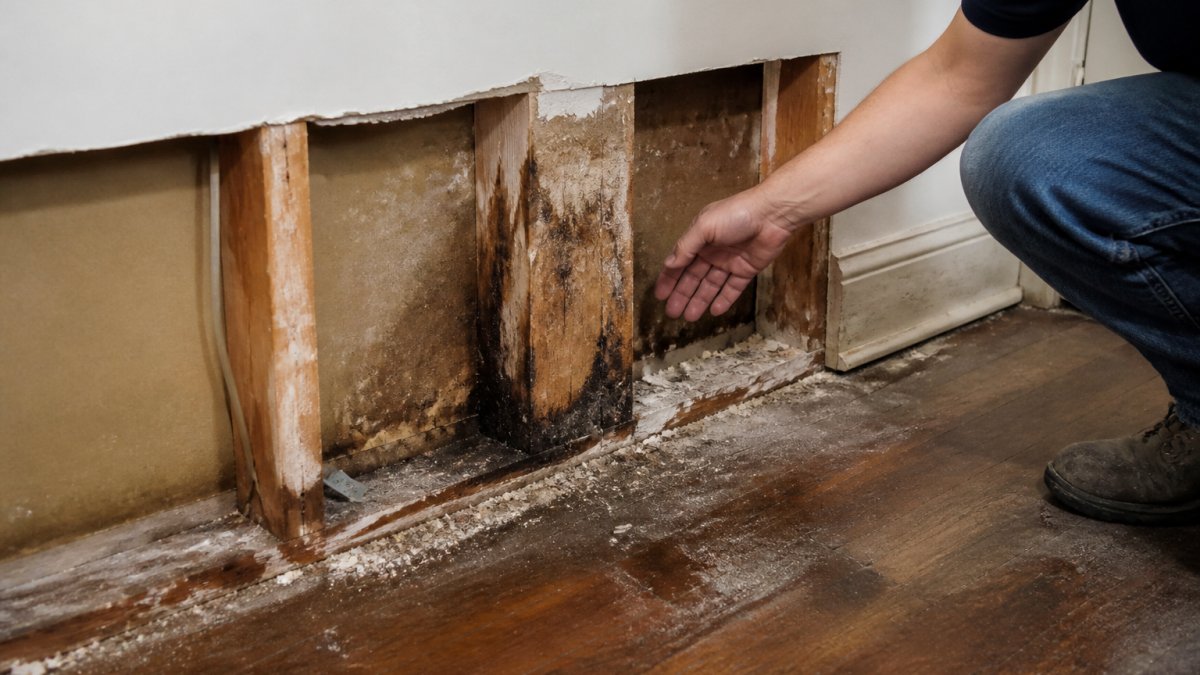
Water damage behind walls is moisture soaked into drywall, insulation, or framing without being visible from the surface. It hides until it produces symptoms, usually weeks later.
A slow leak inside a wall rarely announces itself. It drips onto framing, soaks insulation, and feeds mold long before anyone notices.
Stains, Discoloration, and Efflorescence
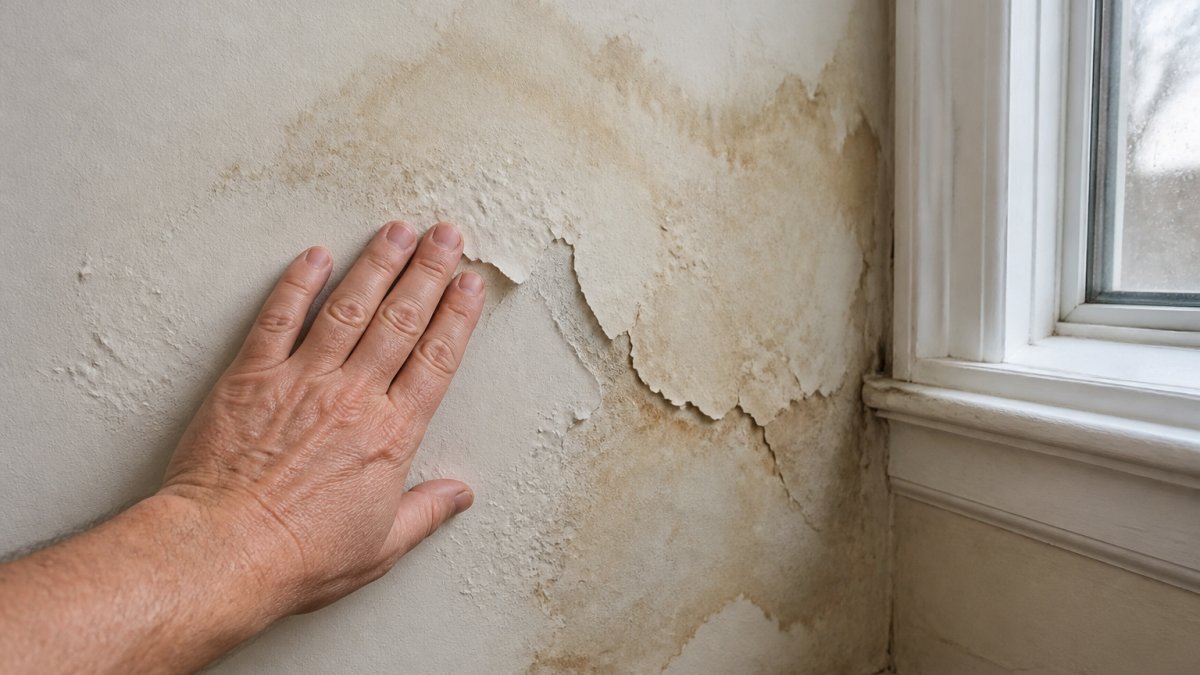
Brown or yellow rings on a wall or ceiling are the classic sign of trapped water. Fresh stains look wet and dark. Older ones dry to a pale outline with a darker rim, which tells you the leak may still be active.
Watch for efflorescence, the chalky white mineral deposits left when water moves through masonry and evaporates. It isn't paint dust, it means moisture is traveling through the wall from somewhere behind it.
Warping, Soft Drywall, and Peeling Paint
Run your hand along the wall. A surface that feels soft, spongy, or slightly cool is a red flag. Press gently with a screwdriver handle in an inconspicuous spot. If it sinks in, the drywall has absorbed water and lost its structure.
Other visible clues include:
- Peeling, bubbling, or blistering paint
- Wallpaper that lifts at the seams
- Bulging or swelling drywall
A common mistake is painting over a stained or bubbling patch. It hides the symptom for a few weeks while the moisture keeps spreading. Always fix the water source first.
How to Detect a Water Leak Behind a Wall Safely
Detection starts with your senses, not tools. Look for stains, listen for running water when fixtures are off, and smell for a musty odor. Then move to non-invasive checks.
Safe steps to confirm moisture behind a wall:
- Shut off water fixtures in the area and listen for dripping inside the wall
- Check the water meter with all fixtures off. A moving dial points to an active leak
- Press a dry paper towel against the wall and tape it in place overnight. Dampness by morning confirms moisture
- Look behind nearby cabinets and under sinks for staining or soft wood
- Use a moisture meter on the wall surface (covered below)
When to Stop Investigating and Call for Help
Stop your own investigation and call a professional if any of these apply:
- The wall is soft enough to push a screwdriver through
- You see sagging drywall or a bulging ceiling
- There's a musty smell with visible dark spots, which may be mold
These point to structural or safety risks that aren't a do-it-yourself job.
How to Find the Source of a Water Leak Inside a Wall
Finding the source means working backward from the wet spot. Water travels along framing, so the actual leak is often several feet from the stain.
Start with the most likely suspects:
- Plumbing leaks in supply lines or drains above or beside the wet area
- Roof leaks that run down inside walls, often after storms
- Gutter failures that push water against fascia and walls
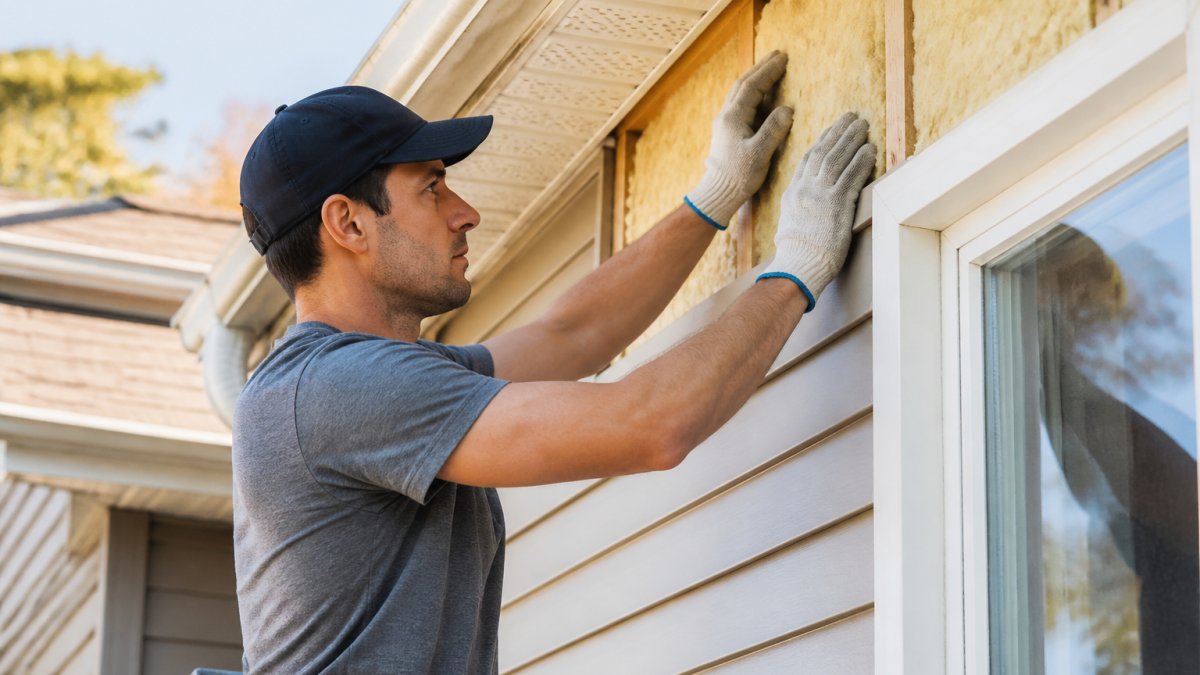
For exterior causes, a contractor can inspect the roofline, flashing, and gutters. The EPA's guide to household water use and leaks notes that household leaks waste significant water, which is another reason to find the source fast.
Using a Moisture Meter for Detecting Water in Walls
A moisture meter is a handheld tool that estimates the water content of building materials. It's the fastest way to confirm moisture behind a wall without cutting it open, and the tool most home inspectors reach for first. But a reading is evidence, not a diagnosis, it tells you where to look, not what is leaking.
The two meter types and what each is good for
- Pin meters drive two small pins into the surface and measure electrical resistance; lower resistance means higher moisture. They're accurate on drywall, wood framing, and plaster, but each reading leaves two pinholes, fine in a closet, less fine on a finished wall you plan to keep.
- Pinless meters (capacitive or non-invasive) scan the surface with an electromagnetic field and read density changes. They leave no marks and let you sweep a large area quickly, but they read only the top inch or so and can be thrown off by metal studs, foil-backed insulation, or dense plaster.
Many practitioners carry both: a pinless meter to find the wet zone and a pin meter to confirm it at a specific spot.
How to use one without fooling yourself
- Establish a baseline. Test a dry section of the same wall, same material, same paint, before the suspect area. A reading means nothing without a comparison.
- Scan slowly. Move the meter about an inch per second; fast sweeps miss narrow wet bands along studs.
- Map the edges. Mark where readings rise and fall back to baseline. The shape often points to the source, a vertical band suggests water running down a stud, a horizontal band a leak at a fixture or supply line.
- Recheck in 48 to 72 hours. A reading that climbs or spreads means an active leak; one that falls means the source may have stopped or the area is drying.
What a thermal camera adds, and what it cannot do
An infrared thermal camera shows surface temperature differences. Because evaporating moisture cools a surface, a wet patch often appears as a cooler area on the wall. It's excellent for scanning a whole room fast and spotting moisture behind finished surfaces where a pin meter cannot reach.
The limits matter. A thermal camera measures temperature, not moisture. A cool patch can also be a draft, a missing insulation batt, a metal stud, or a shadow.
Why these tools do not replace a professional inspection
A homeowner-grade meter can confirm that a wall is wet. It cannot reliably tell you:
- Whether the moisture is from a supply line, a drain, a roof, or condensation
- Whether the framing behind the drywall has lost strength
- Whether mold has colonized the cavity
Those questions need moisture mapping across the whole assembly, sometimes with an exploratory cut, and a judgment call about what to remove versus dry in place. Use your meter to decide how urgently to call someone, not to decide the repair is unnecessary.
Leak or Condensation? How to Tell the Difference
This decision changes your whole repair plan, and it's the one most homeowners get wrong. Condensation is water vapor in the air condensing on a cool surface; a leak is liquid water escaping from a source. The damage can look similar, but the fix is completely different, and treating a leak as condensation lets the damage spread for months.
The mechanism, in plain terms
Condensation needs three things at once: moisture in the air, a surface cool enough to condense on, and poor air movement.
A leak needs a source and a path. Water escapes from a supply line, a drain, a roof, a window, or a siding gap, then travels along framing and drywall until it shows up, often far from the source.
Tests a homeowner can run
- The timing test. Condensation tracks weather and activity, worse on cold mornings, after showers, after cooking, or during humid stretches. A leak tracks water use and rain, worse after a long shower, a load of laundry, a dishwasher cycle, or a storm.
- The location test. Condensation clusters on cold surfaces: exterior walls, windows, mirrors, and pipe runs. Leaks cluster near plumbing, rooflines, and exterior penetrations, often forming a defined ring or edge where water has dried repeatedly.
- The ventilation test. Run exhaust fans and a dehumidifier for a week and watch the spot. Condensation improves; a leak does not.
The case most guides skip: both at once
A slow leak and condensation often coexist. A leaking pipe keeps a wall cavity damp, raising indoor humidity and causing condensation on nearby cold surfaces. Better ventilation makes the wall feel drier but does not stop the leak. If the ventilation test rules out condensation and the spot persists, treat it as a leak until a professional proves otherwise.
What the pattern tells you about the likely source
- Vertical streak below a bathroom or kitchen, supply line or drain in the wall above
- Ring on a ceiling below an attic or second floor, roof leak, flashing failure, or an upstairs fixture
- Damp band along an exterior wall in winter, condensation or a siding/window gap
If the pattern points to an exterior cause, roof, siding, or gutters, that is a different repair path than an interior plumbing leak, and it is worth having the exterior inspected before you open any walls.
How Long Does It Take for a Wall to Dry After Water Damage?
Most walls dry in 3 to 5 days with proper airflow and dehumidification. Thick materials, soaked insulation, or trapped moisture can push that to a week or more. Drying time depends on how much water entered, whether insulation got wet, airflow and humidity in the room, and whether the source is fully stopped. A moisture meter is your best check: readings should return to the dry baseline before you patch, paint, or close up the wall.
Your Step-by-Step Response Plan After Finding Signs
Here's the sequence we recommend after you spot signs of water damage behind walls.
| Step | Action | Timing |
|---|---|---|
| 1 | Stop the water source if possible | Immediately |
| 2 | Document damage with photos | Same day |
| 3 | Move belongings away and ventilate | Same day |
| 4 | Call a professional to assess | Within 24-48 hours |
| 5 | Dry the area fully | 3-7 days |
| 6 | Repair and repaint | After readings are dry |
| 7 | Monitor monthly for recurrence | Ongoing |
Document for insurance. Photograph stains, soft spots, and damaged belongings before cleanup, and save receipts.
What a professional inspection involves. A pro uses moisture meters and thermal imaging to map the moisture, trace the source, and check for mold.
For exterior causes like roof or gutter failures, fixing the source is the critical step.
Prevention after repairs:
- Clean gutters twice a year
- Check caulking around windows and doors
- Watch for new stains after heavy storms
Frequently Asked Questions
What are the first signs of water damage behind walls?
The earliest signs usually show up on the wall surface: brown or yellow water stains, discolored patches, and paint that starts peeling or bubbling. You may also notice a musty odor, soft or spongy drywall when you press on it, and white mineral deposits called efflorescence. Catching these early matters because trapped water spreads through drywall and framing fast. If you see any of these signs of water damage behind walls, investigate the same week rather than waiting for the damage to grow.
Can you detect water damage behind a wall without opening it?
Yes, in many cases. A moisture meter for detecting water in walls gives you a reading through drywall without cutting it open, and thermal imaging cameras reveal temperature differences that suggest trapped moisture. You can also do a simple visual check for stains, warping, and musty odors. These tools tell you whether moisture is likely present, but confirming the exact source often requires a small inspection opening or a professional assessment.
Does insurance cover water damage in walls?
Most standard homeowners policies cover sudden, accidental water damage, such as a burst pipe or appliance failure, including the cost of drying and repairing the wall. Damage from long-term neglect, poor maintenance, or gradual leaks is typically excluded. Document everything before repairs begin: photos, dates, and moisture readings. Review your policy or call your insurer to confirm coverage before work starts, since the distinction between sudden and gradual damage often decides the claim.
How do you find the source of a water leak inside a wall?
Start by mapping the wet area and checking the rooms above and beside it. Shut off fixtures one at a time and watch the moisture meter to see if readings drop. Check supply lines, drain connections, the roof, and gutters for entry points. If readings stay high with everything off, the leak may be in a concealed pipe or coming from outside. A professional inspection with thermal imaging and pressure testing pinpoints the source without guesswork.
Water behind a wall never fixes itself, and the longer it sits, the more it costs. If you've spotted stains, soft drywall, or a musty smell, get it assessed before mold and rot set in. Fraley's Home Improvement brings GAF-certified roofing, siding, and gutter expertise to every job, with honest work, fair pricing, and free estimates. Get a free estimate from Fraley's Home Improvement and protect your home before a small leak becomes a big repair.