 how-to
How to Find Roof Leak Source: Step-by-Step Guide
Table of Contents
- Start Your Roof Leak Source Search Inside the Home
- How to Find a Roof Leak in the Attic
- Inspect the Roof Surface: Shingles, Flashing, and Penetrations
- How to Find a Roof Leak With a Hose: A Controlled Water Test
- How to Find a Roof Leak With No Attic Access
- When to Call for a Professional Roof Leak Inspection
- Temporary Fixes and Documentation While You Wait for Repair
- Conclusion
- Frequently Asked Questions
Last Updated: October 13, 2026
Start Your Roof Leak Source Search Inside the Home
You can often find the roof leak source without ever climbing a ladder. Water rarely enters where it exits. It runs along framing, drips onto insulation, and shows up far from the actual breach.
That gap between entry point and visible stain is what makes leak tracing frustrating. This guide from Fraley's Home Improvement walks you through a full interior-to-exterior inspection, the same order our crews use on service calls.
Start with what you can see indoors. It costs nothing and narrows the search fast.
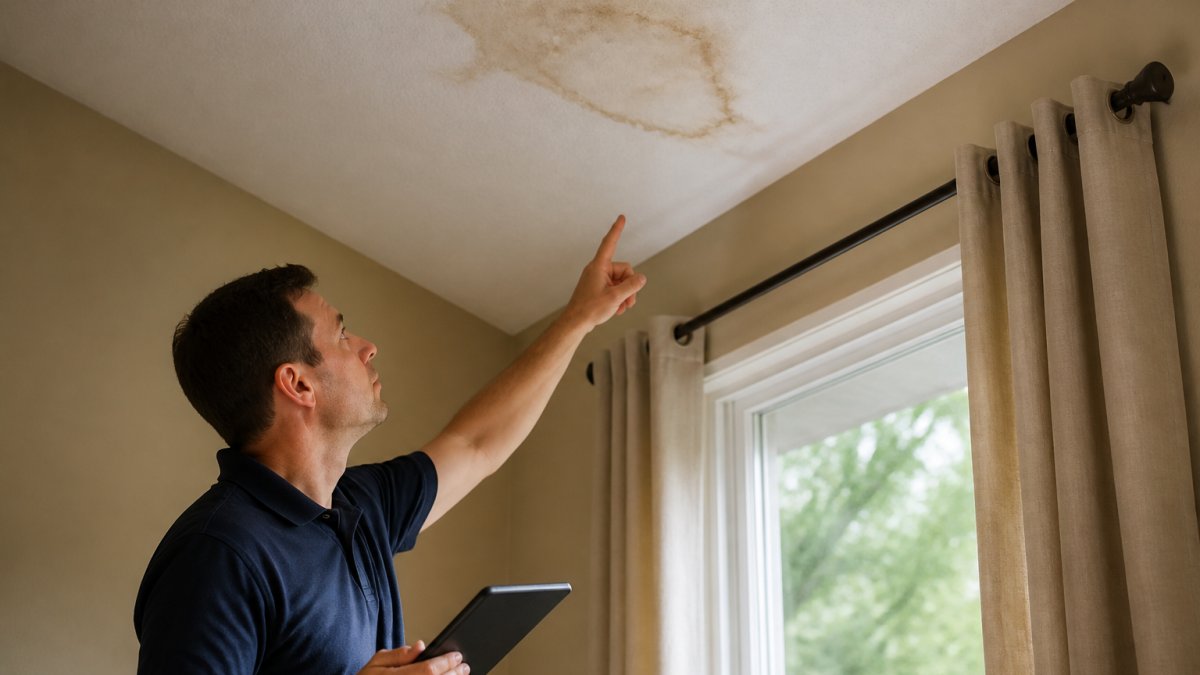
Trace Water Stains Uphill to Their Source
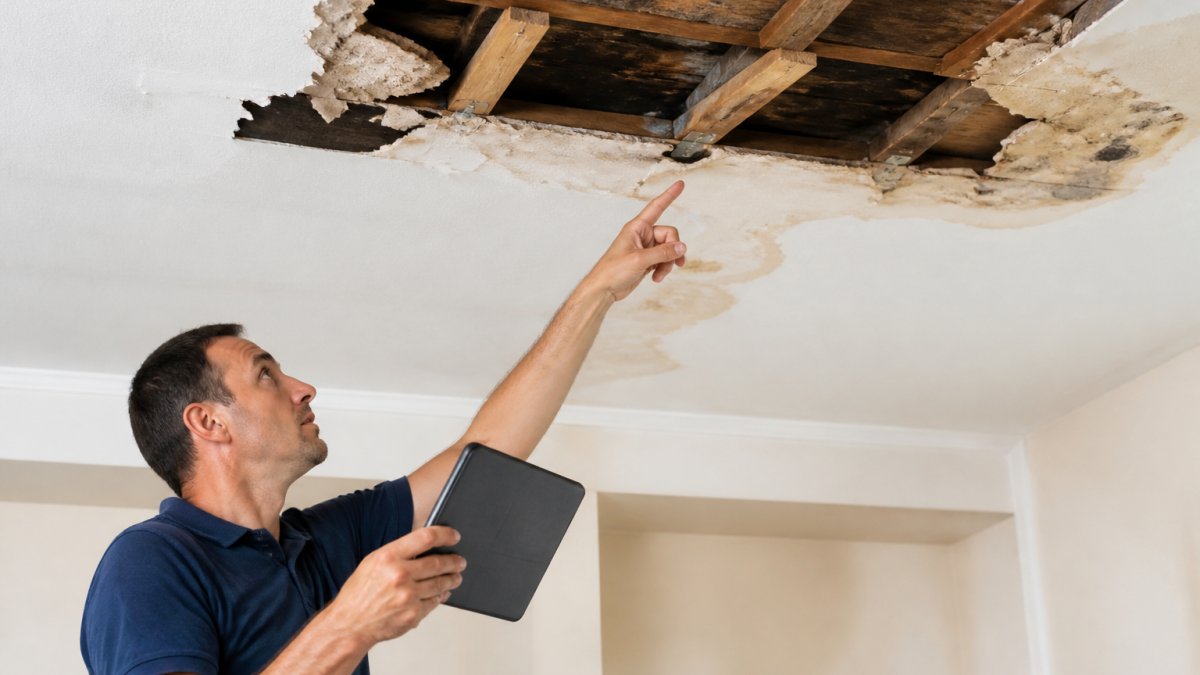
Water stains are a map, and they point uphill. A ceiling leak almost always starts higher than the visible mark, because water travels along the roof deck and rafters before it drips.
Work backwards from the stain:
- Find the highest edge of the discoloration
- Follow the framing or sheathing in that direction
- Check the attic space directly above the stain first
A brown ring on a ceiling usually means water has been entering for weeks. The center marks where the drip finally broke through. The real water entry point sits higher and often several feet away.
Use a Flashlight to Spot Hidden Moisture and Water Marks
A bright flashlight is the most useful tool you own for this job. Angled light reveals water marks, dark streaks, and hidden moisture that flat overhead light hides.
Shine the beam across surfaces, not straight at them. Raking light makes texture and staining pop. Check these spots:
- Ceiling drywall near exterior walls
- Top plates where walls meet the ceiling
- Around chimneys and vent pipes
Fresh water marks look dark and slightly glossy. Old ones look brown and dry. Either way, mark them with tape so you can track whether they grow.
How to Find a Roof Leak in the Attic
The attic is where most roof leak sources reveal themselves. Water entry points, stained sheathing, and wet insulation all show up here before they show up on your ceiling.
Go up during or right after rain if you can. Active drips are the fastest confirmation you will get. If the attic is dry, look for evidence the water left behind.
Safety Precautions Before You Enter the Attic
Attic inspections carry real risks: falls through drywall, contact with exposed wiring, heat stress, and respiratory irritation from insulation fibers. Take ten minutes to prepare before you climb up.
- Wear a respirator or N95 mask for insulation dust and rodent droppings
- Use gloves, long sleeves, and eye protection
- Bring two flashlights, plus a phone in a pocket (not a hand)
Read the Attic Like a Map: What Each Clue Tells You
Once you are safely positioned, slow down and read the space. Water leaves a trail, and each clue points to a different kind of failure.
- Dark, glossy sheathing: active or recent entry. Follow the streak uphill to the highest wet point.
- Brown, dry staining: older leak that may have already stopped or been patched poorly.
- White chalky residue on rafters: efflorescence, a sign of long-term moisture cycling.
Mark every clue with painter's tape so you can tell whether the wet area grows after the next storm. Photograph each mark with your phone before you leave the attic.
Trace the Entry Point, Not the Drip
A drip in the attic is rarely directly under the roof breach. Water follows the path of least resistance: it runs down the underside of sheathing, along a rafter, then drops at a low point.
Work backwards:
- Find the highest wet or stained point on the sheathing.
- Follow the rafter or truss in that direction toward the ridge, valley, or penetration.
- Check the roof surface directly above that spot, not above the drip.
If the attic is dry but the ceiling below is stained, the leak may be intermittent, already sealed by debris, or entering through a wall assembly rather than the roof deck.
Inspect the Roof Surface: Shingles, Flashing, and Penetrations
Most leaks trace back to three things: damaged shingles, failed flashing, or a penetration that lost its seal. The roof surface tells you which one.
Look for these trouble signs:
- Missing shingles or ones that slid out of place
- Cracked, curling, or granule-bare shingles
- Rusted or pulled flashing
Check the valleys and roof edges too. Valleys channel the most water, so small failures there cause big leaks. Roof edges catch wind-driven rain.
Check Chimneys, Skylights, Vents, and Valleys
Penetrations are the weakest points on any roof.
Chimney flashing fails more than almost anything else. Look for cracked sealant, rusted step flashing, and gaps where the chimney meets the roof.
Skylights leak when their seals dry out or the frame shifts. Vents leak when the rubber boot around the pipe cracks.
If you are not comfortable on a ladder, do not climb. A professional roof inspection catches these issues safely.
How to Find a Roof Leak With a Hose: A Controlled Water Test
A hose test lets you find a roof leak on a dry day by controlling where water goes. You simulate rain, one section at a time, and watch for the leak to appear.
Follow this procedure:
- Have a helper inside with a flashlight and phone
- Start low on the roof and work upward
- Spray one section for five to ten minutes
- Pause and check for drips inside
- Move to the next section only after a dry result
Test in this order: lower roof areas, then penetrations like vents and chimneys, then flashing, then upper sections. The moment your helper sees water, you have found the leak source.
How to Find a Roof Leak With No Attic Access
Vaulted ceilings and cathedral roofs leave no attic to inspect. That removes your best viewing angle, but it does not make the job impossible. Without an attic, you have to lean harder on two things most guides skip: matching the symptom to a likely source, and understanding how weather and roof design move water before it shows up indoors.
Diagnose by Symptom and Location
Where the leak appears, and when, narrows the source faster than a random roof walk. Use this symptom-to-likely-source guide as a starting point:
- Ceiling stain near an exterior wall: often ice damming, wind-driven rain past flashing, or a wall-to-roof intersection.
- Ceiling stain near the center of a room: frequently a plumbing vent boot, a nail pop, or a valley above.
- Stain around a chimney: chimney flashing, counter-flashing, or a cracked crown.
Write down the exact location, the weather at the time, and how long the stain has been growing. That log becomes the most useful thing you hand a roofer.
How Weather and Roof Design Move the Water
Water rarely falls straight down onto the spot where it drips. Wind, pitch, valleys, dormers, and layered roof assemblies all redirect it.
- Wind-driven rain pushes water sideways and even uphill against shingles, so a leak can appear on the opposite side of the roof from the opening.
- Low-slope sections shed water slowly and are more prone to backup at flashing and underlayment seams.
- Valleys concentrate flow from two planes; a small failure there can produce a large interior leak.
Understanding these mechanics explains why the visible stain is often not under the roof breach, and why a leak that only shows up in one wind direction points to a different source than one that appears in every storm.
What to Do Without an Attic
Without interior access, focus on the exterior and the symptoms:
- Note the exact ceiling location and its position under the roof
- Check the roof above that spot for damaged roofing materials
- Look for water marks on walls and around windows
- Compare leak timing to weather patterns
If the interior clues and exterior inspection do not match up, a professional inspection is the next step. Moisture meters and infrared cameras can read moisture through drywall and sheathing, which is often the only way to confirm a source when there is no attic to inspect.
When to Call for a Professional Roof Leak Inspection
Call a professional when the leak is active, the roof is steep or high, or you cannot safely reach the suspected area.
Signs it is time to call:
- Active dripping during rain
- A leak you have traced twice without success
- Roof pitch too steep to walk
- Suspected storm damage or missing shingles
A professional roof leak inspection uses tools like moisture meters and infrared cameras to find hidden moisture behind walls and ceilings.
At Fraley's Home Improvement, we have handled exterior work since 1971 and hold GAF certification. Our no-pressure assessments tell you what is actually wrong, not what we can upsell.
Temporary Fixes and Documentation While You Wait for Repair
Stop the water, then document everything. Both steps protect your home and your wallet.
For temporary mitigation:
- Place buckets and plastic sheeting under active drips
- Move furniture and electronics out of the way
- Apply roofing sealant to a visible crack if you can reach it safely
- Do not nail or screw through the roof as a fix
Documentation matters for insurance and repair estimates:
- Photograph every water stain and drip
- Note dates and weather when leaks appear
- Save receipts for damaged items
- Keep a written log of what you found and where
Conclusion
Chasing a leaky roof on your own gets old fast, and every storm you wait through lets water spread further into your home.
Fraley's Home Improvement brings 55+ years of family-operated experience, GAF-certified roofing, and free, no-pressure estimates to every home we serve.
Get a Free Estimate from Fraley's Home Improvement and protect your home before the next storm finds the same weak spot.
Frequently Asked Questions
I can't find the source of my roof leak. What should I do?
Start inside the attic on a rainy day and follow water stains uphill toward the roof deck. Check the underside of the roof sheathing near chimneys, vents, and valleys, since water often travels along framing before dripping. If you still can't locate the roof leak source, run a controlled hose test on one roof section at a time while a helper watches inside. When the leak stays hidden or the roof is too steep to inspect safely, schedule a professional inspection rather than guessing.
What is the most common location to find a roof leak?
Roof penetrations and flashing are the most frequent culprits. Chimneys, vent pipes, skylights, and roof-to-wall intersections collect water and rely on metal flashing and sealant that crack over time. Valleys, where two roof planes meet, also channel heavy water flow and wear faster than the rest of the roof surface. Damaged or missing shingles near these areas let water reach the underlayment and roof deck, so check them first during any inspection.
Should I inspect my roof from inside or outside?
Start inside the attic, because water stains and moisture marks show you the general area where water is entering, then move outside to confirm the exact point of entry. Interior clues narrow your search before you climb onto the roof. Outside, check flashing, shingles, and penetrations in the area above the stain. If you have no attic access, work from the exterior and use a hose test to isolate sections of the roof surface.
When should I call a roofing professional to find a leak?
Call a professional roof leak inspection when the leak stays hidden after your own checks, when the roof is steep or icy, or when water has soaked insulation and drywall. Storm damage, missing shingles across a wide area, and recurring leaks near chimneys or skylights also call for an expert. A roofing professional uses moisture meters and infrared cameras to find hidden moisture, then documents the damage for your insurance claim and repair estimate.